![]()
This button on the top tool bar will show a pop-up window where you can add pre-drawn vector images. You can move the window by dragging on the title bar. Drag on the edge to resize the window,.
The window can be closed either by clicking on the small cross on the title bar or by clicking the "Image library" button. The images can be filtered as suitable for DXF file export or suitable for use as clip art.
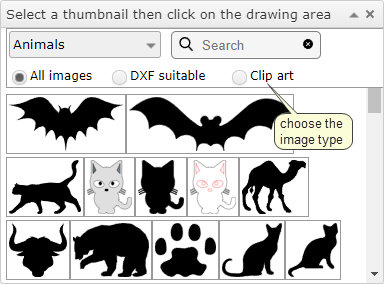
 To add an image, click on one of the thumbnails so that it is selected and then click on the drawing area where you want the image to be placed.
The vector drawing is added as a group so it can be scaled and moved like any other drawing object. If you want to edit part of the image, un-group it first.
Tip Turn off the grid snap so that parts of the object don't move when you select them.
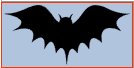
DXF suitable images
These are silhouettes or outlines. Once the image is added to the drawing area and selected, you can change the fill and/or outline colours by using the colours on the right hand side.
Clip art
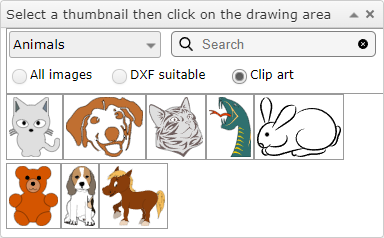
The clip art images are suitable for making posters and designs. They are typically drawn a a group of overlapping shapes. (see below) Since these are vector images, you can un-group and modify them any way you like.
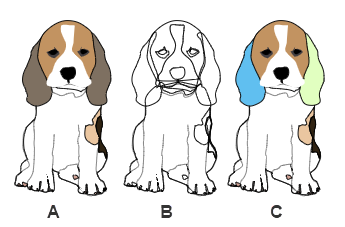
The picture above shows an example of changing an image from the library.
In A, the image is simply added to the drawing area.
In B the image has been selected and the fill colour set to none and the the line colour to black. You can see that the complete image is made up of overlapping shapes.
![]() In C the flood fill tool has been used to change the colour of some of the shapes. (There is no need to un-group the shape to do this)
In C the flood fill tool has been used to change the colour of some of the shapes. (There is no need to un-group the shape to do this)
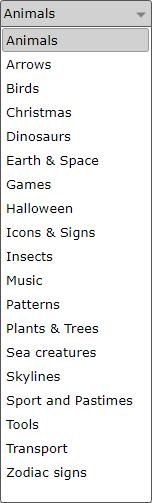 The drop down list shows a list of categories in the library. Click on one to display the thumbnails for that category.