|
<< Click to Display Table of Contents >> Navigation: Tracing images >
|
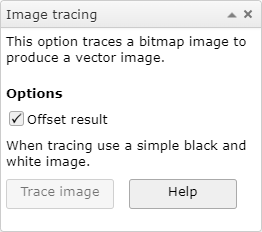
Image tracing converts a bitmap image to a vector drawing. This button on the top toolbar toggles the dialog shown below.
To use the trace with a laser cutting machine, you need to export it in a format that the machine can read i.e. a DXF file.
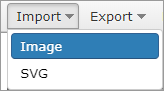
Import an image from your computer or tablet to the drawing area using the "Image" option in the "Import" menu at the top of the screen.
(You can find a lot of suitable image online by searching for "silhouette images", although be aware that some of these may be copyright.)
You can also copy an image and paste it into the drawing area with Ctrl + V on a PC or Cmd + V on a Mac. or use the paste button on the top toolbar.
Click on the image to select it and click the "Trace image" button.
N.B. The tracing is done with a line width of 1pixel (approx. 0.3mm) any colour and width settings are ignored. The tracing is selected and therefore the line width, colour and fill can then changed in the same way as any other drawing object.
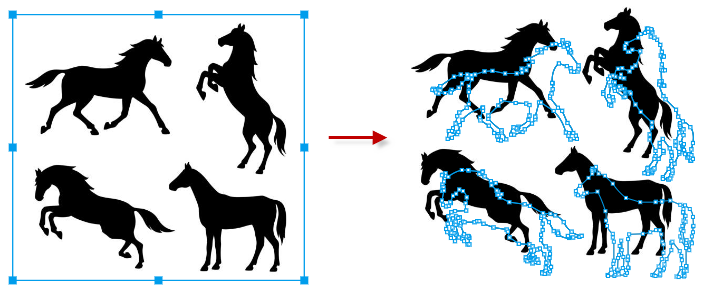
The picture below shows the result of tracing a black and white image using the DXF option with the "Offset result" checked.
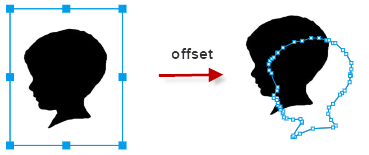
The offset makes it easy to see the result.
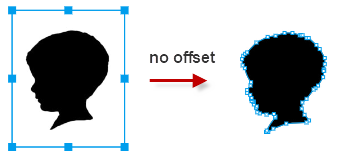
With no offset, the tracing is aligned to the original image.
You can trace images with single or multiple black regions.
![]() If the trace has more than one path, it is grouped is a grouped shape so you want to edit part of it (e.g. to change a line colour), select it, un-group it and then select the part you want to change.
If the trace has more than one path, it is grouped is a grouped shape so you want to edit part of it (e.g. to change a line colour), select it, un-group it and then select the part you want to change.
If any part of the black region overlaps the edge of the image you may get and unexpected result. e.g.
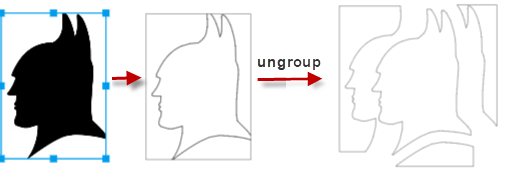
You can un-group the trace and delete any unwanted parts.