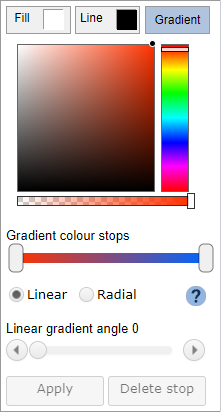
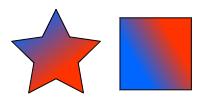
A colour gradient is defined by gradient stops.

Each stop specifies a position between 0 and 1 on the shape and the colour at that position.
The gradient can be linear or radial. For a radial gradient, the default start position is at the centre of the shape.
There can be any number of stops between 0 and 1.
To apply a gradient to a shape, select the shape and then click the "Apply" button.

Editing gradient stops
![]()
Click and drag a button on the slider to set the stop position. When you do this the stop is selected as shown by a black outline.
To deselect the stop, click anywhere just below the slider.
When a stop is selected, you can change the colour with colour picker.
Adding and removing stops

Click anywhere on the coloured bar of the slider. The stop is added with the colour that was set in the colour picker ( in this example, yellow).
The stop is selected and can be removed with the "Delete stop" button.
With a linear gradient, you can also set the angle of the gradient.

Moving the stops closer together creates a sharper junction between the colours.

Any changes you make to the gradient are applied to selected shapes in the drawing area.
Radial gradient centre
Choosing the radial gradient option shows a tool that is used to set the origin of the gradient.

Click on the button to select the tool and then click anywhere inside a shape that has a radial gradient

To deselect the tool, click anywhere outside the shape or choose another too from the toolbar on the left.
Marquee selections

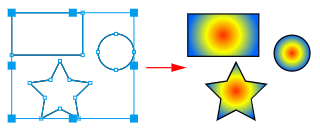
When a gradient is applied to several shapes that have been selected by dragging a box around them with the select tool the gradient is applied to each shape individually.
Group selections

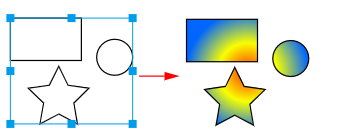
When a gradient is applied to a group, the gradient is "spread out" across the group.
Video