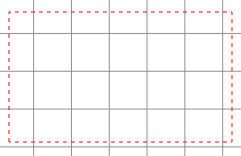
![]() Click this button on the left toolbar and click and drag anywhere in the drawing area to show a red dotted rectangle.
Click this button on the left toolbar and click and drag anywhere in the drawing area to show a red dotted rectangle.

The hinge will be drawn in the rectangle when the mouse button is released. The hinge is drawn as a grouped shape using the current line colour and a line width 0.5.
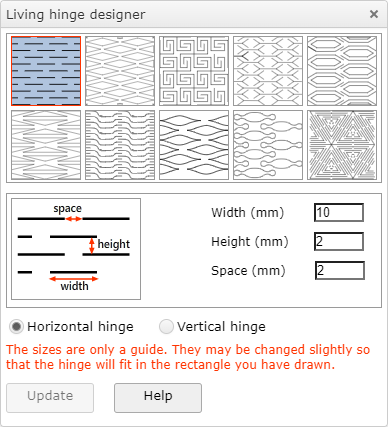
The type of hinge drawn depends on the settings in the pop-up box which is shown when this tool is chosen.

Choose a hinge style but clicking on one of the pictures at the top of the dialog. The selected style is shown with a blue background and red border.
Depending on the style chosen there are one, two or three input boxes shown.
Orientation
With the "horizontal hinge" option selected (default) the hinge pattern is draw horizontally. With the "Vertical hinge" option selected, the hinge pattern is rotated through 90°
so that the pattern in vertical.
Updating
When the mouse button is released, the hinge is drawn with a blue rectangle around it and the "Update" button is enabled. At this point the sizes and or the orientation can be changed

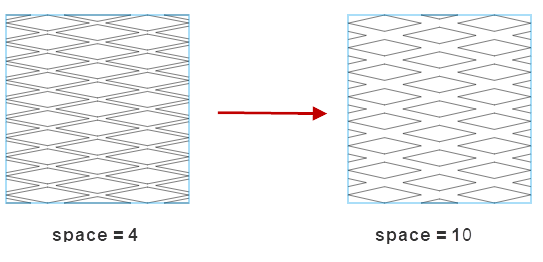
Th image shows the effect of changing the space setting from 4 to 10 and then clicking the "Update" button.
N.B the update is applied to the hinge just drawn. If you want to update another hinge that was drawn previously, select it with the selection tool ![]() .
.
Colours and lines
Once the hinge is selected, you can colour an thickness of the lines in the same way as any other shape. The hinge is a grouped shape so if you just want to change colour of some of the lines you can use the flood fill tool.